Why Customising Your Furniture Matters
Let’s be honest—how many of us have walked into a room and thought, “I wish this chair was a bit more… me”? We've all had that moment when a piece of furniture just doesn’t quite hit the mark. Customising your furniture is like giving it a personality makeover. Imagine turning a basic old chair into a stunning showstopper that fits perfectly with your style. It's not just about looks; it's about making your space truly yours. It’s like putting a personal stamp on your home, making it feel more comfortable and inviting.
In this guide, we’ll walk you through some fun and simple DIY projects that can transform your furniture from mundane to marvellous. Whether you’re eyeing up that tired old sofa or an uninspired dining table, there’s a project here for you. Ready to make your furniture stand out?
Step 1: Assessing Your Furniture and Needs
Before diving into the paint and fabric, let’s take a step back and figure out what you’re working with.
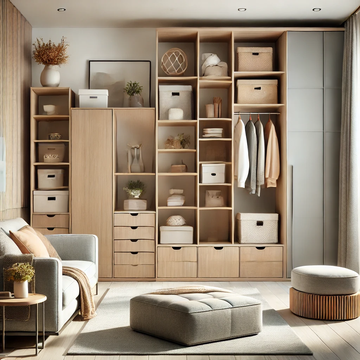
Evaluating What You Have
Take a good look at your furniture. Do you have a sofa that’s seen better days or a dresser that’s just begging for a makeover? Make a list of the pieces you want to update and think about their current state. Maybe your old chair needs a fresh coat of paint or your dresser could do with some new knobs. Knowing what you have will help you plan your customisation projects better.
Planning Your Customisation
What do you want to achieve with your makeover? More colour, a bit of elegance, or maybe a bit of both? Setting a clear goal and budget is crucial. Look for inspiration in magazines, online, or even in local shops. This will give you a sense of direction and help you decide on the materials and techniques you’ll need.
Step 2: Preparing for Your DIY Projects
With your plan in hand, it’s time to gather everything you need and set up your workspace.
Tools and Materials You'll Need
Basic supplies like paintbrushes, sandpaper, and new fabric are essential. Depending on your project, you might need additional tools such as a staple gun or drill. Collect everything before you start so you’re not left scrambling halfway through.
Preparing Your Workspace
Set up a space where you can work comfortably and without interruption. Make sure it’s well-ventilated and cover the floor with old sheets to protect it from any mess. A clean, organised workspace makes the whole DIY process smoother and more enjoyable.
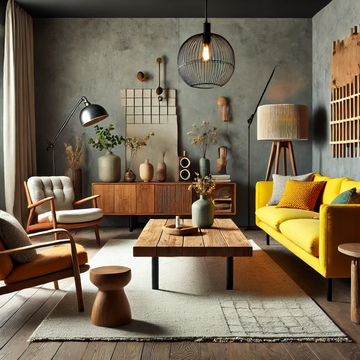
Step 3: Popular DIY Furniture Customisation Ideas
Here’s where you can let your creativity shine. Check out these popular DIY projects to give your furniture a fresh, personal touch.
Painting and Staining
A new coat of paint or stain can completely transform a piece of furniture. Start by sanding the surface to get rid of any old paint or imperfections. Apply a primer to ensure the paint adheres well, especially if you’re changing colours significantly. For staining, choose a product that enhances the wood’s natural grain for a beautiful finish.
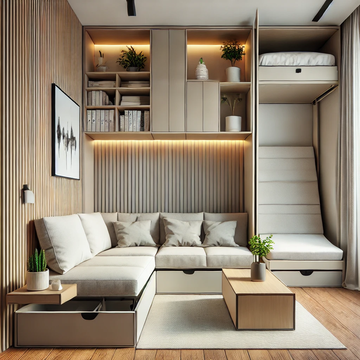
Upholstering and Re-covering
Re-covering cushions or seats can breathe new life into old furniture. Pick a fabric that matches your decor and use a staple gun to attach it securely. Don’t worry if you’re not a sewing expert—there are plenty of no-sew options that make this project a breeze.
Adding New Hardware
Swapping out old hardware like knobs or handles is a simple yet effective way to update furniture. New hardware can give a dresser or cabinet a whole new look. Just make sure the new pieces fit the existing holes or be prepared for some additional drilling.
Decorative Additions
Feeling a bit adventurous? Try adding decals or stencils for a unique design. You can also use fabric or wallpaper for creative accents. It’s a fun way to personalise your furniture without needing to be an artist.
Step 4: Step-by-Step Guides for Common Projects
Here’s a closer look at how to tackle some common furniture customisation projects.
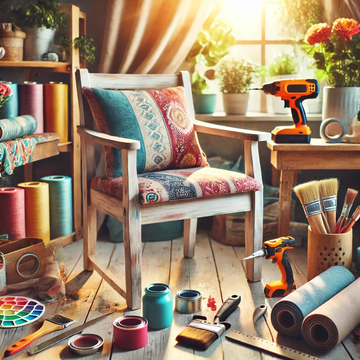
Painting a Wooden Chair
- Sand the chair to smooth out any old paint and imperfections.
- Apply a coat of primer and let it dry completely.
- Paint the chair with your chosen colour, using several thin coats for a smooth finish.
- Seal with a clear coat to protect your work.
Re-covering a Sofa Cushion
- Remove the old fabric from the cushion.
- Measure and cut your new fabric to fit.
- Wrap the fabric around the cushion and secure it with a staple gun.
- Reattach the cushion to the sofa.
Updating Cabinet Hardware
- Remove the old knobs or handles.
- Position the new hardware and mark where you’ll drill.
- Install the new knobs or handles with the screws provided.
Step 5: Maintaining and Caring for Your Customised Furniture
You've put in the effort, so keeping your customised furniture in top shape is key.
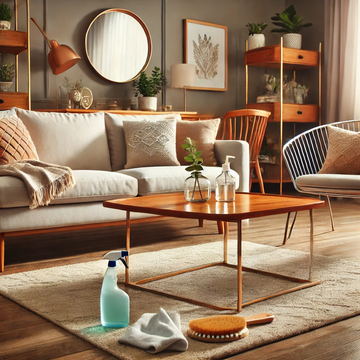
Cleaning and Upkeep
Regular cleaning will keep your furniture looking its best. For painted surfaces, a damp cloth should do the trick. For upholstery, follow the care instructions specific to the fabric.
Repairing Minor Damage
For accidental scratches or spills, use touch-up paint or a wood repair marker. For upholstery stains, deal with them promptly according to the fabric’s care guidelines.
Ready to Get Customising?
So there you have it—a complete guide to customising your furniture and making it uniquely yours. Whether you’re sprucing up an old chair or giving a dresser a fresh look, these DIY projects can help you create a space that’s truly your own. Now it’s time to get creative and transform your furniture. You’ll be amazed at the difference a personal touch can make!